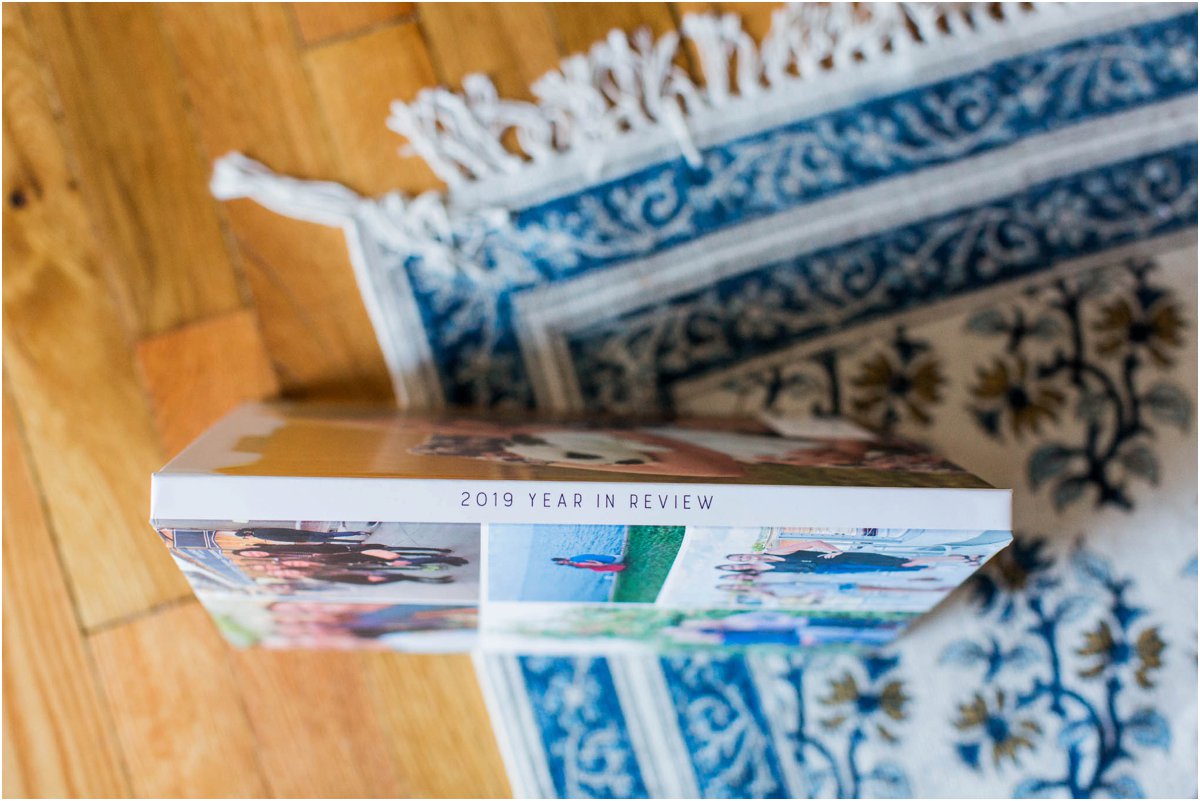
This is a post I have been meaning to do for awhile now! It wasn’t until 2018 that I found a way to actually organize my personal photos. Now that I’m on year 3, I want to share my process with you because I love it so much and it really works well for me. I take lots and lots of personal pictures. For me, photos are not only my hobby but also now my job. I have albums on facebook and instagram but what happens when we no longer have these social media platforms? What happens to all of our photos? I can already tell you since I teach high school that my students laugh at me for having a facebook. Not one of them has facebook. I decided I needed to print my photos in order for them to truly be saved. That’s where Mixbook comes in.
Mixbook is a photo company where you can create all kind of things. It’s similar to Snapfish or Shutterfly but higher quality. I have decided to create a “yearbook” type album for each calendar year. I started with 2018, just received my 2019 book, and am already getting started on my 2020 book.
In 2018, I didn’t start working on my book until December and it took forever!!! So I made some changes and in 2019. Every single weekend, I logged onto Mixbook and uploaded photos I had taken that week. I then would arrange them in the book during the week (this process is super easy). Once December 2019 came around, I had no extra work and could order my book literally on January 1st. I now am starting my 2020 book and would love to walk you through the process! Also, I was not sponsored to do this post, I just really love this company.
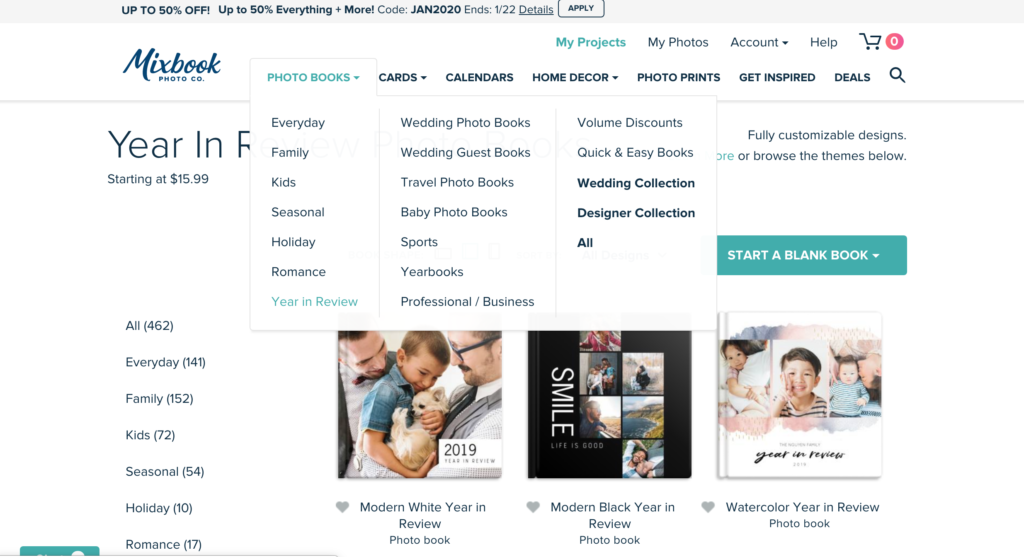
First, go to Mixbook.com. Once you create an account click on photo books, and I use the Year in Review type of book. See below.
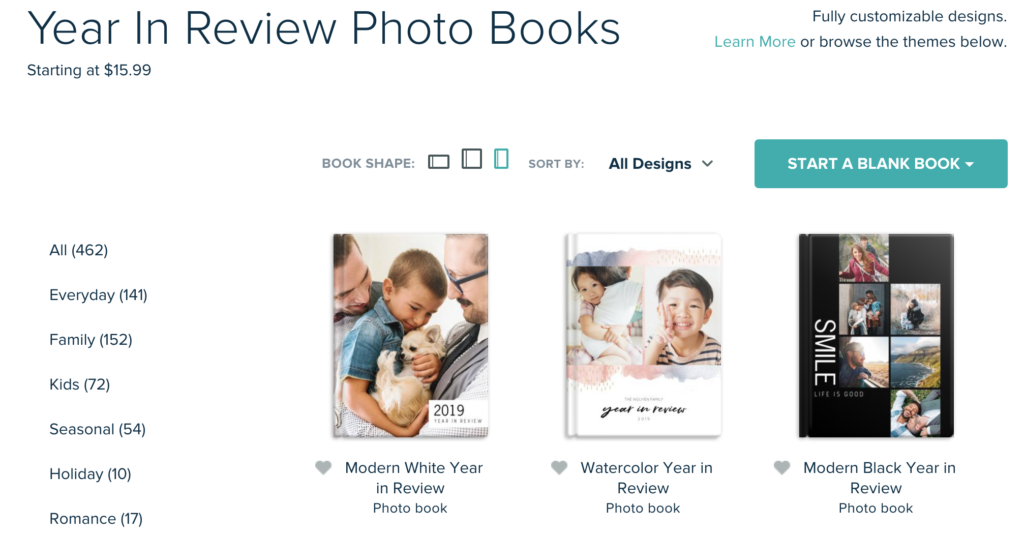
Next, you will see this screen. It asks what book shape you would like. I click the shape that is very similar to a yearbook you would get in grade school. I also use the theme, Modern White. This theme is very clean and gives you lots of options without all the fluff.
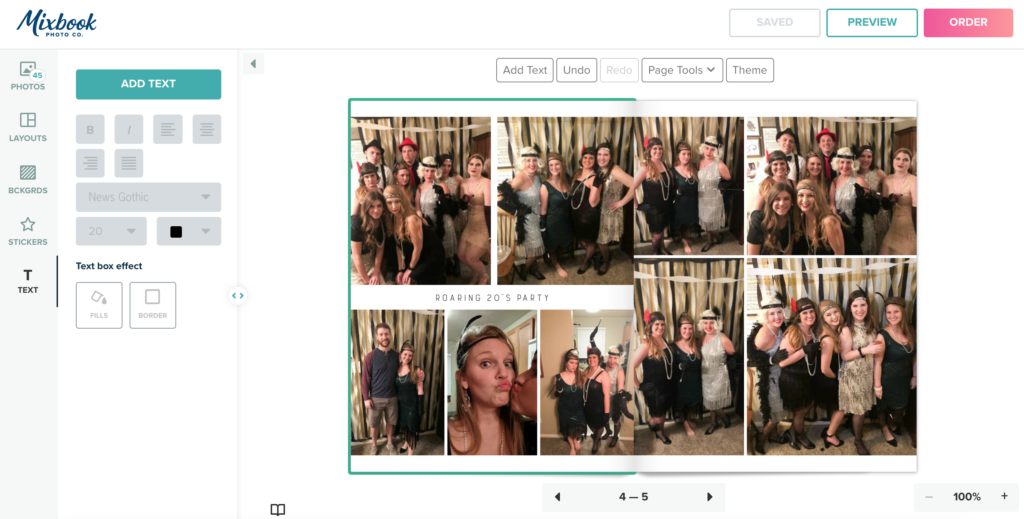
Next, it will pull up the screen that you can start editing. The big green button labeled add photos is where you can upload any photos you want in your book. It will pull the photos on the left side so you can see them all. See below.
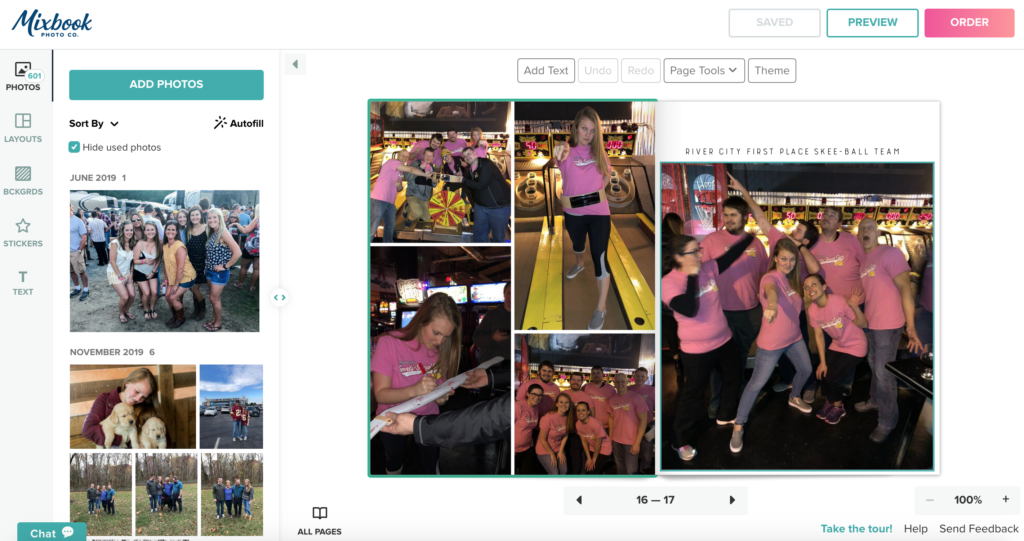
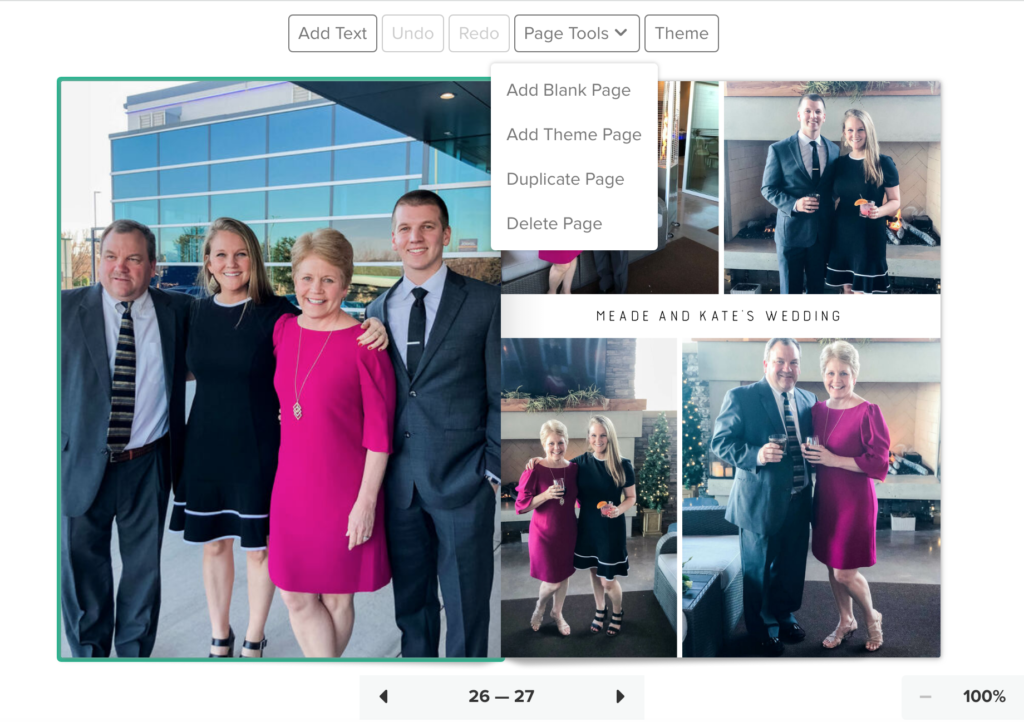
Then there are tools up top that you use to add to your book. You can either add blank pages or theme pages. Theme pages are just a select group of 12-15 pages that can all match. I usually add theme pages but then I alter them to get them how I like. I add text to some pages and use the exact same font throughout the whole book. I really like a clean simple look so the focus is on the images. See below.

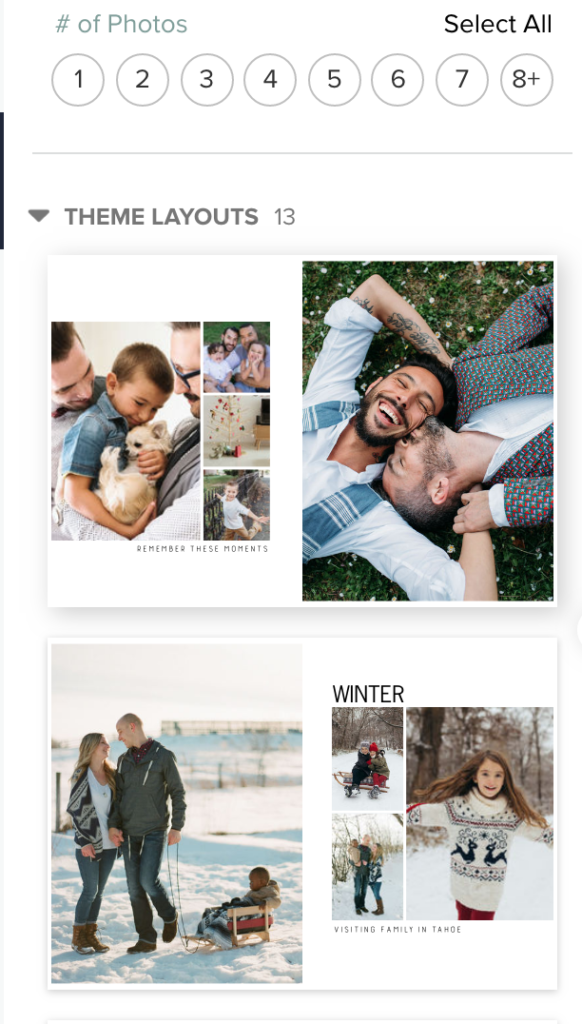
When you click on theme pages, you can chose how many photos you want on that particular page and it will pull up ideas for you. See below.
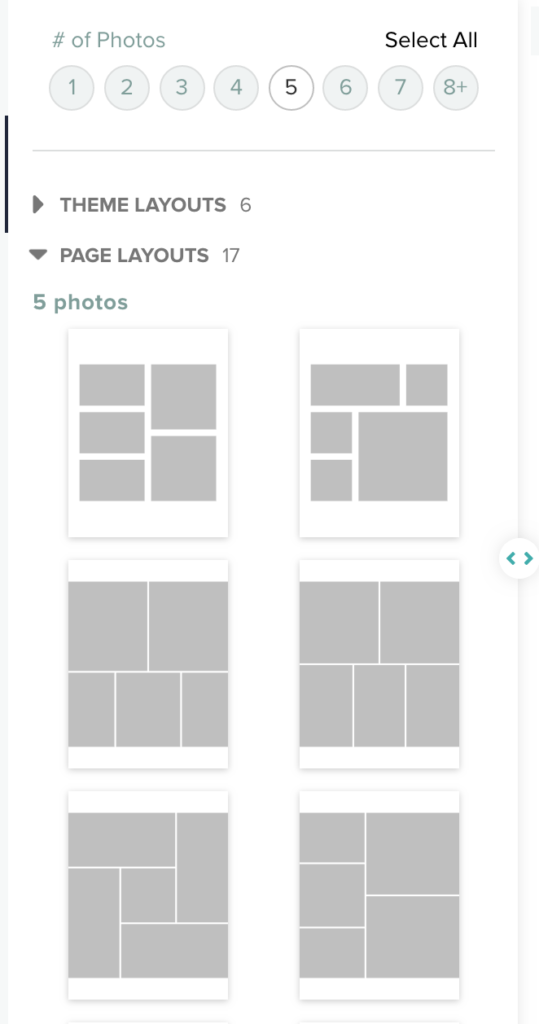
If you don’t like the theme pages, you can also choose the number of photos and use these blank layouts. I do this a lot. See below.
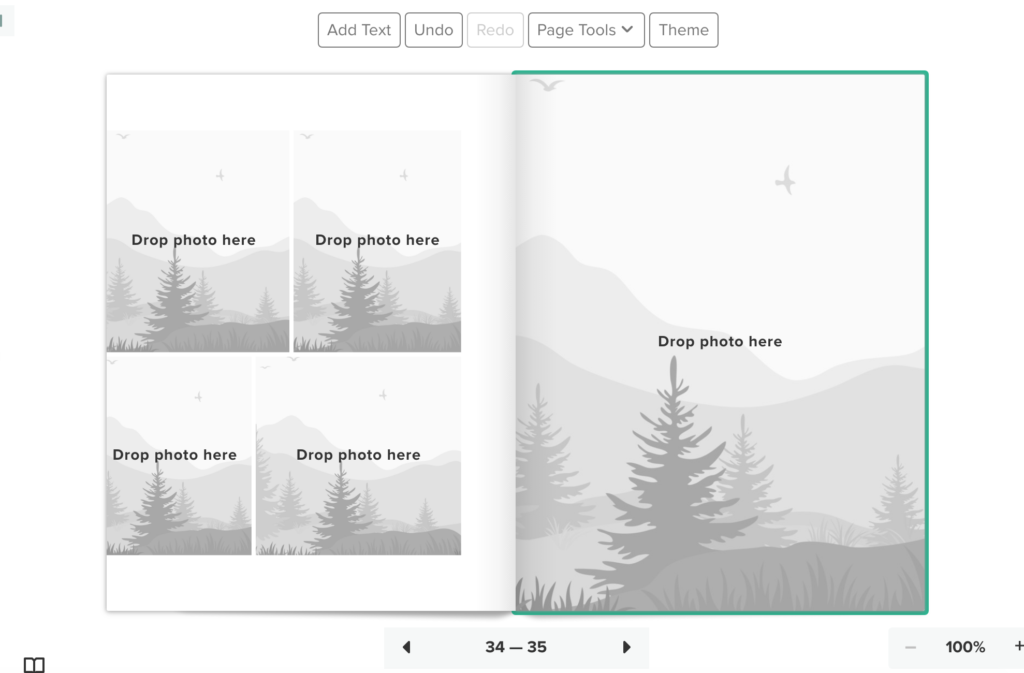
It will pull the layout to your book and you simply drag the photos into the slots. See below.
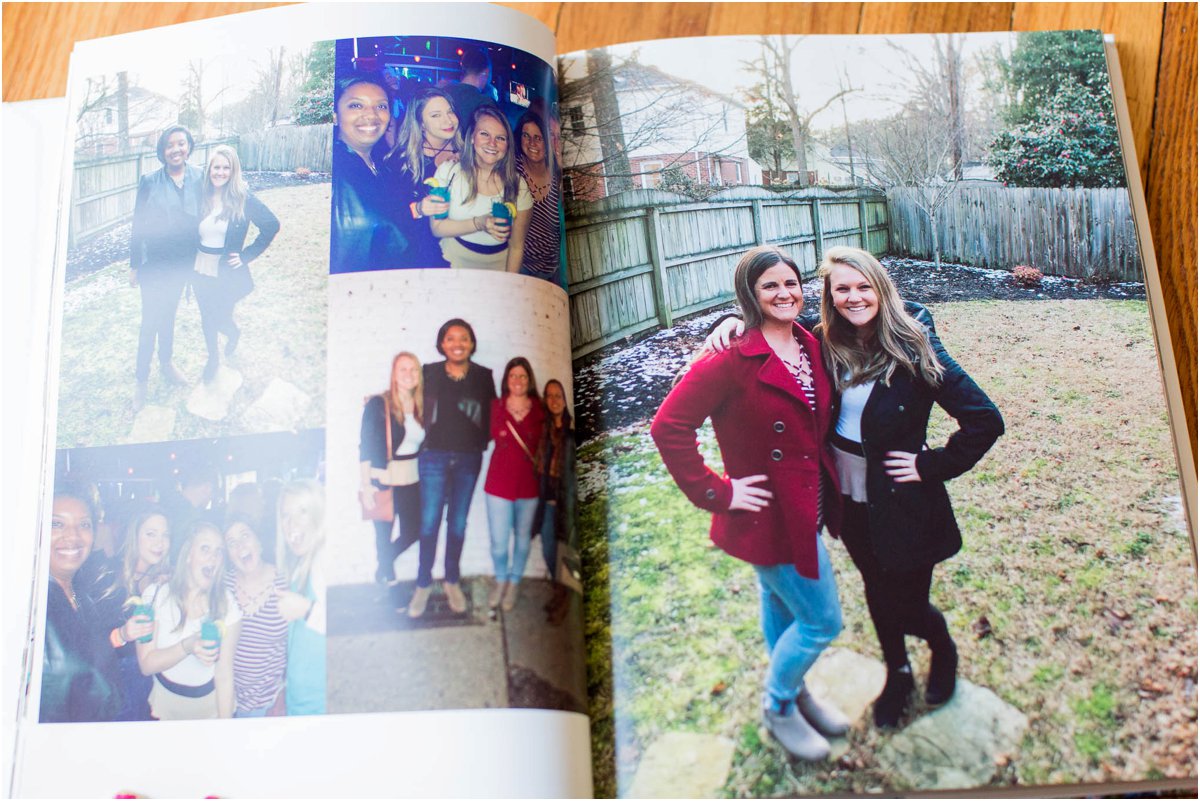
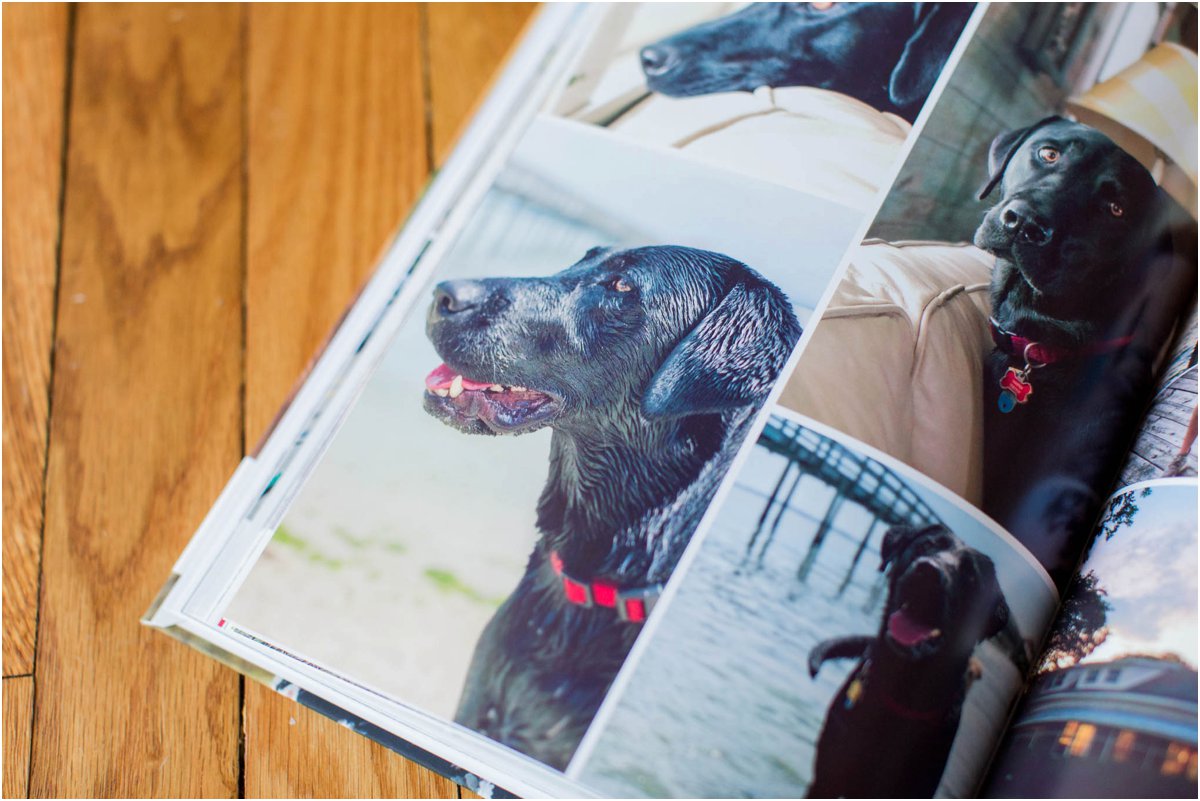
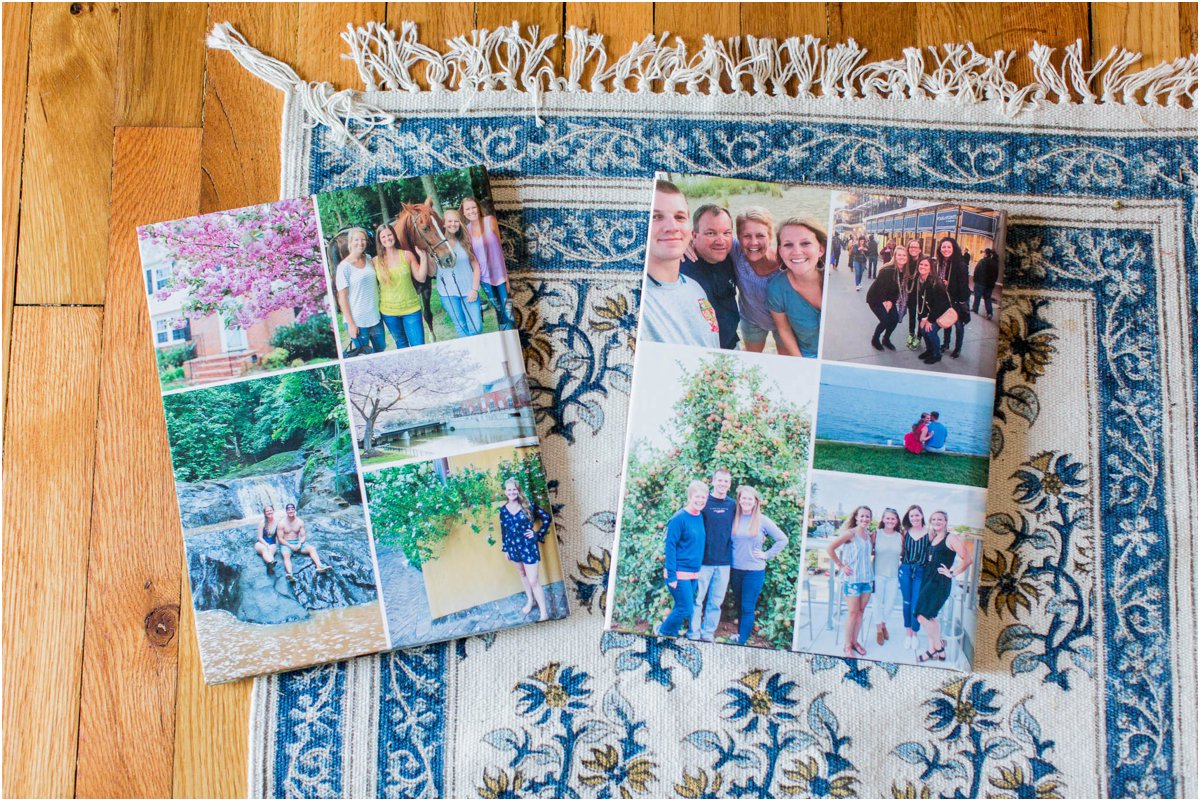
This program saves your pages so you can log in and keep updating your book as the year goes on! Once your ready to order your book, WAIT UNTIL YOU FIND A 50% OFF COUPON!! You can always google and find a Mixbook coupon code. My semi-gloss year in review book with 175 spreads for 2019 was going to cost me $260. Remember these books are great quality but $260 is way too much for me to pay. Once I got the coupon code with 50% off and free shipping, I only paid $130 to have all my memories from the whole year in one place. Here are some photos of my final product. 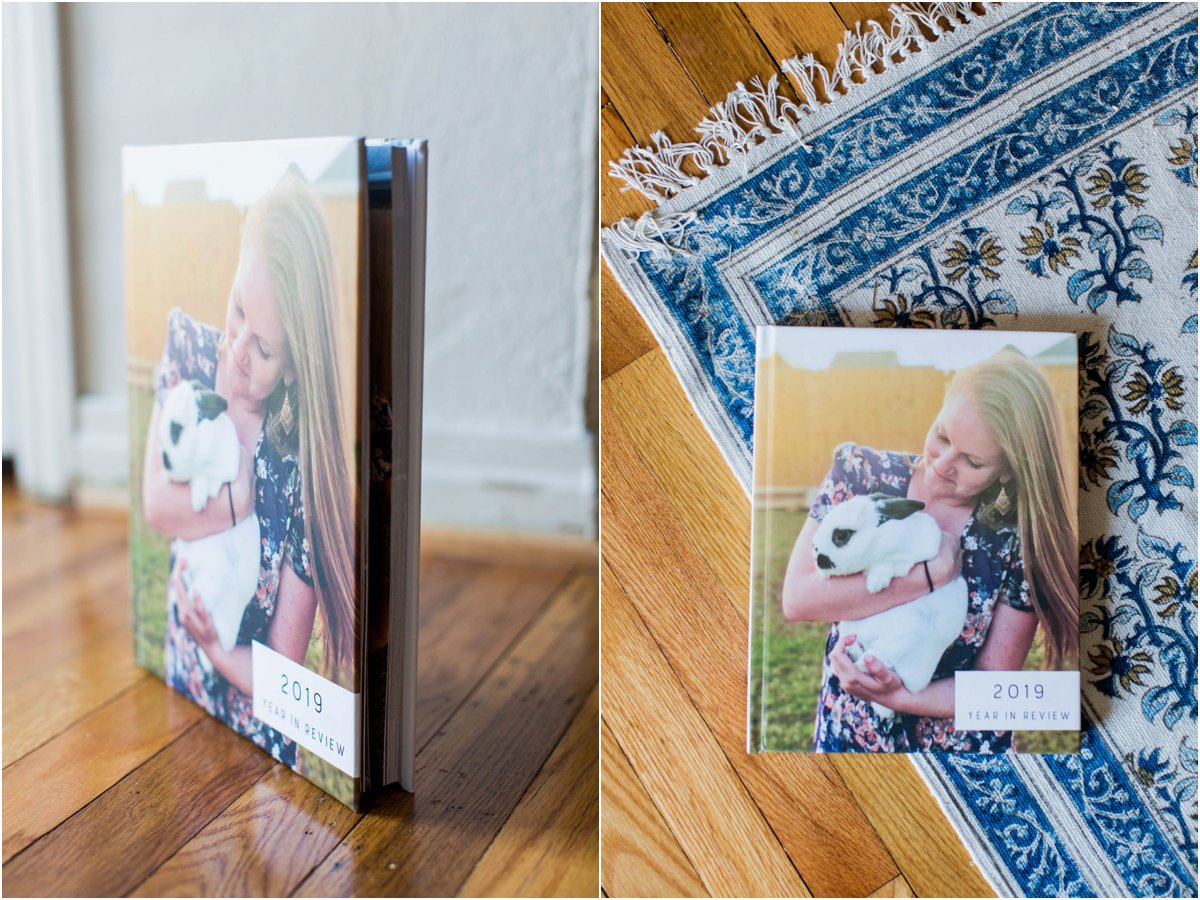
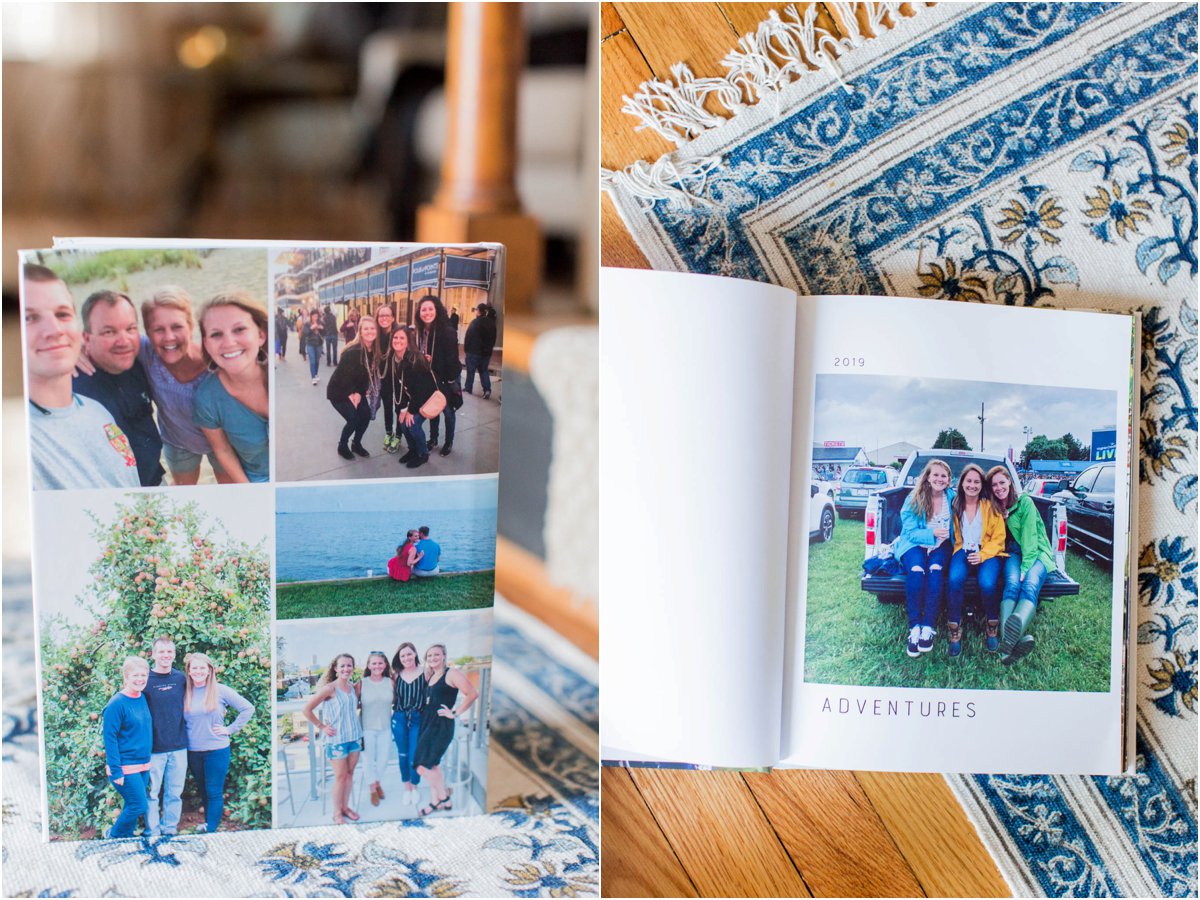
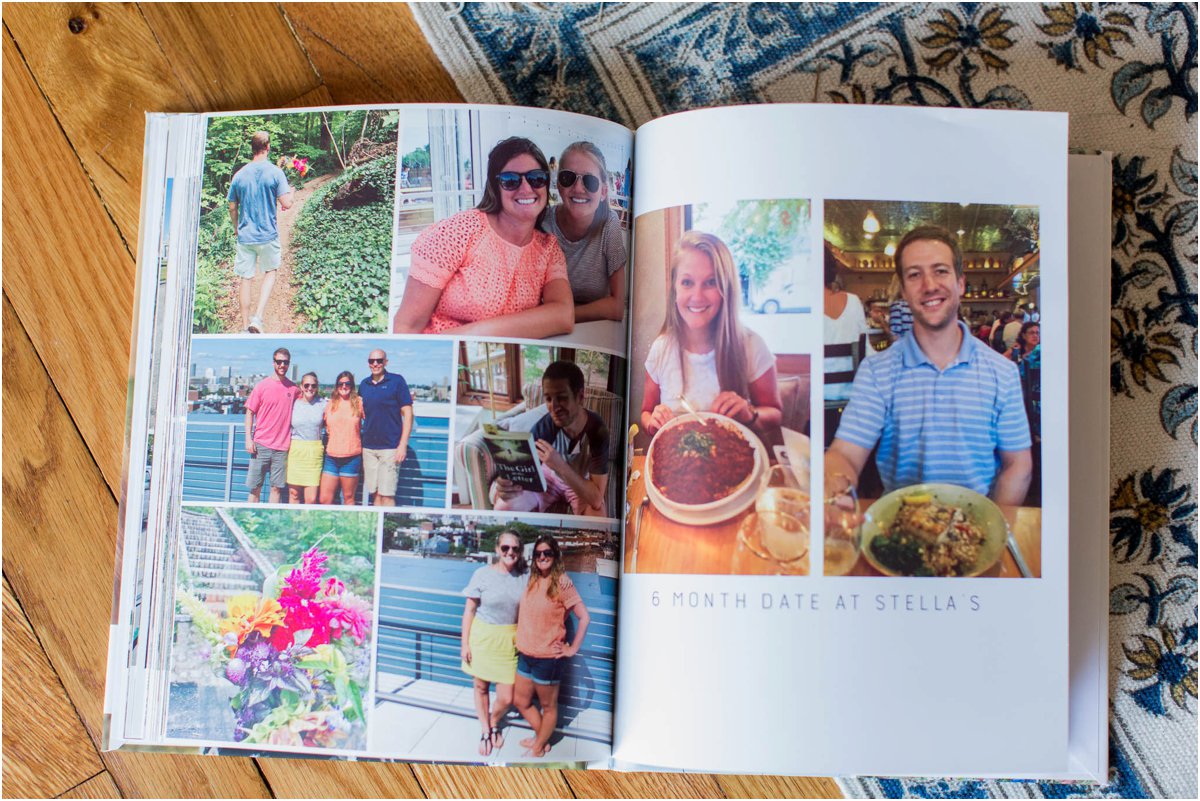
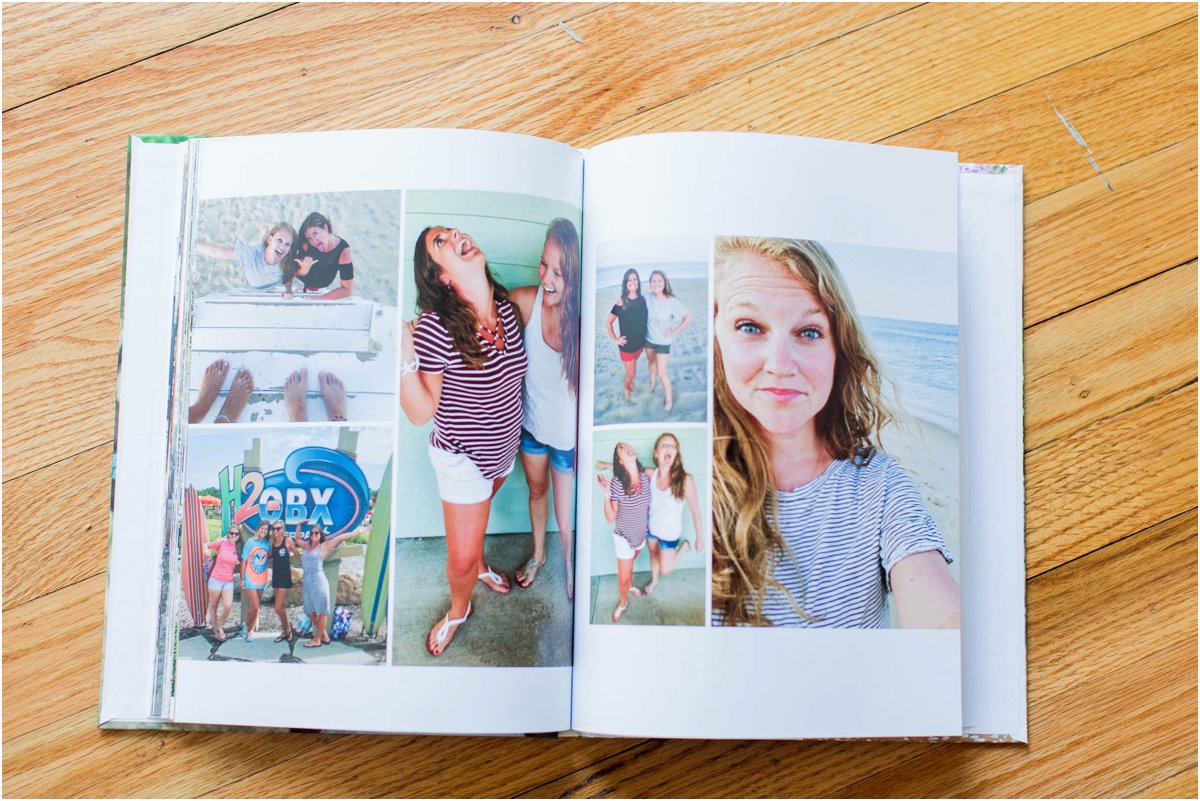
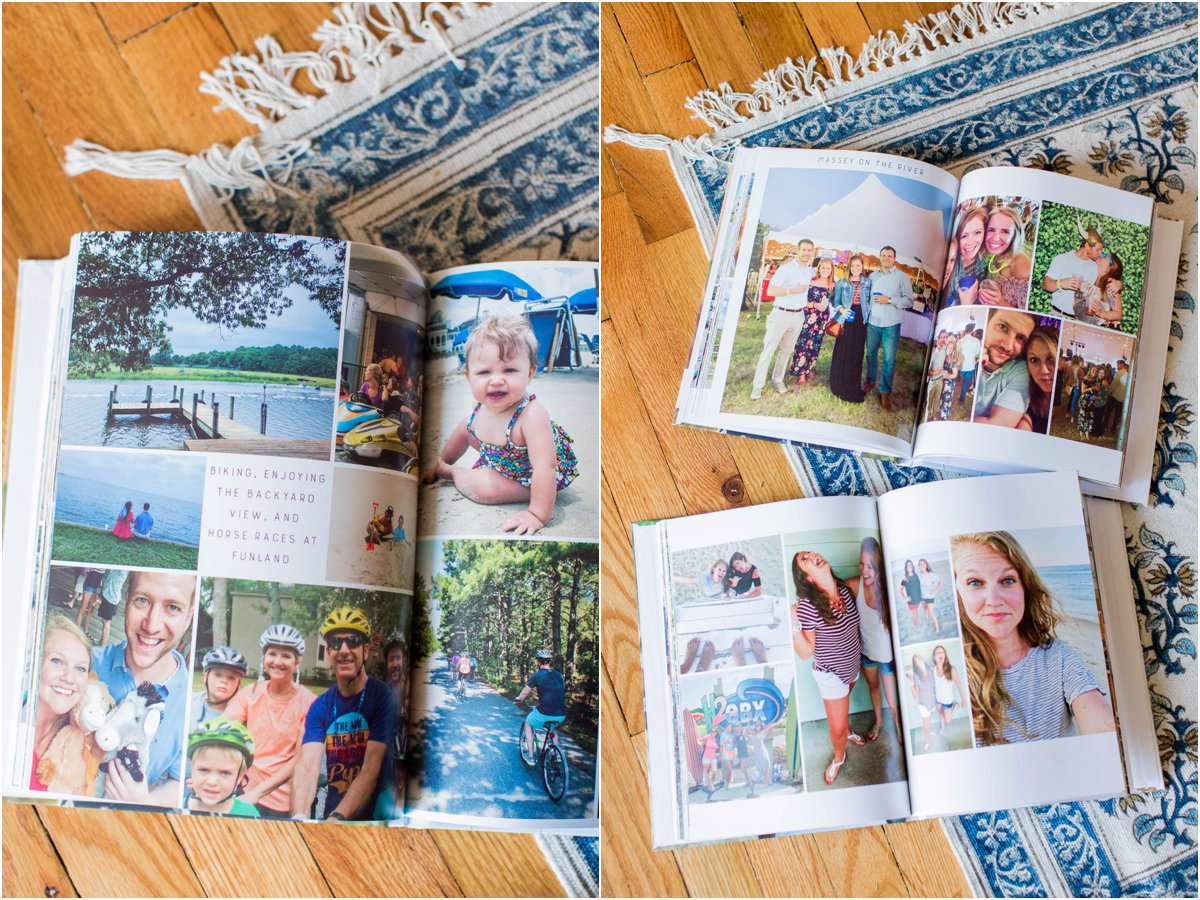
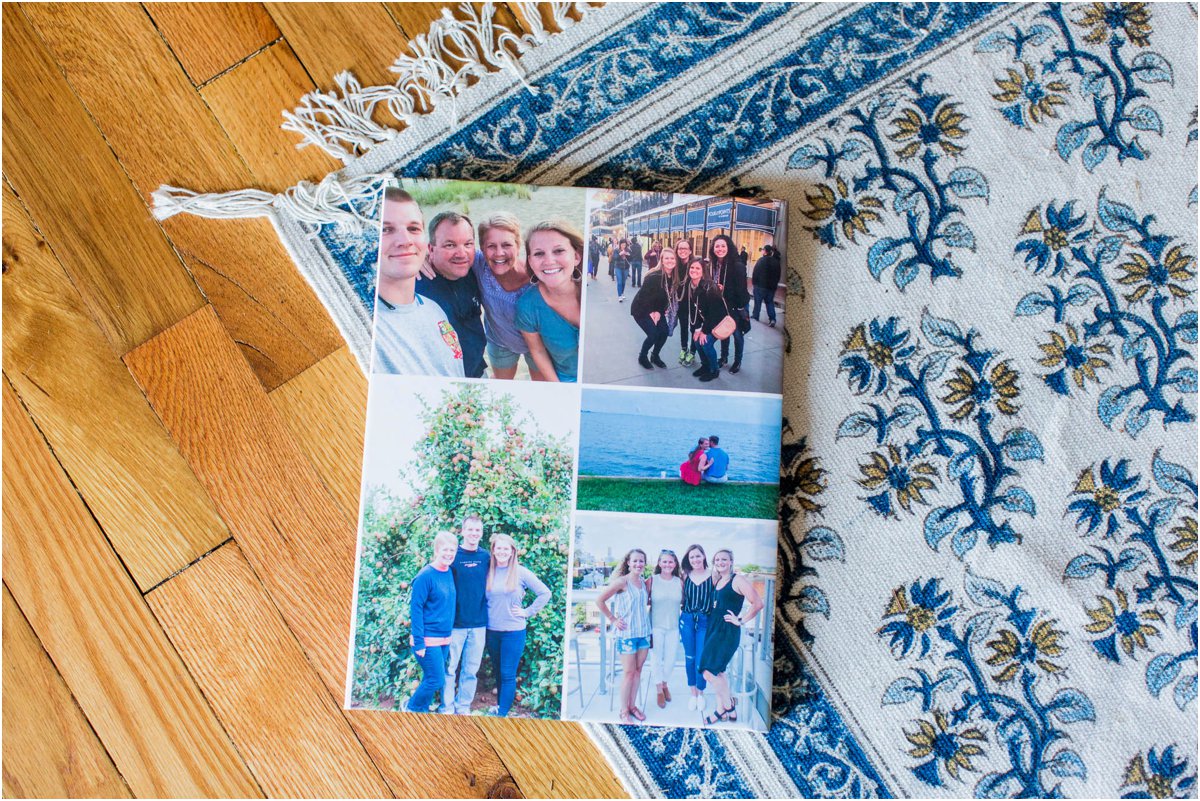 I made sure that the back layout of my book matched my 2018 book. I can’t wait to collect so many more of these!!
 anddddd…I’ve already started working on 2020…see below!
If you have any questions at all about this process, feel free to ask! Thanks for stopping by!
-Ashley


 I made sure that the back layout of my book matched my 2018 book. I can’t wait to collect so many more of these!!
 anddddd…I’ve already started working on 2020…see below!
Awesome post! Keep up the great work! 🙂